1. Find a sheltered and dry spot: Look for a place where you can start a fire safely without any risk of spreading or causing harm.
2. Gather dry materials: Search for dry leaves, grass, or small twigs that can easily catch fire.
3. Prepare tinder: If you have access to dry leaves or small dry branches, crumple them into a loose ball or pile to use as tinder.
4. Create a platform: Clear away any wet ground or snow and create a small platform using rocks or dry wood pieces.
5. Clear deadwood: Look for dead branches or fallen trees that provide dry wood suitable for burning.
6. Split logs: If you have an ax or a knife, split the wet logs into small, thin pieces. This helps increase the surface area and exposes the drier inside layers.
7. Find resinous wood: Search for resinous wood such as pine or spruce. Resin is highly flammable even when wet, helping to ignite the fire.
8. Make feather sticks: Shave thin curls from dry branches to create feather sticks. These provide additional surface area to catch fire easily.
9. Loosely stack wood: Arrange the small, split logs in a loose and airy stack on top of your prepared platform.
10. Build a fire pit: Create a small fire pit using rocks or wet logs to contain the fire and prevent it from spreading.
11. Use a fire starter: If available, use a fire starter like matches, a lighter, or a fire starter rod to ignite the tinder. Place it in the center of the tinder pile.
12. Blow gently: Start blowing gently and consistently into the burning tinder to provide oxygen to the flames and help them grow.
13. Add small twigs and leaves: Once the tinder has ignited, carefully add small dry twigs and leaves to further fuel the fire. Avoid suffocating the flames by adding too much at once.
14. Blow more frequently: Increase the blowing frequency and intensity to help introduce more oxygen and intensify the fire’s heat.
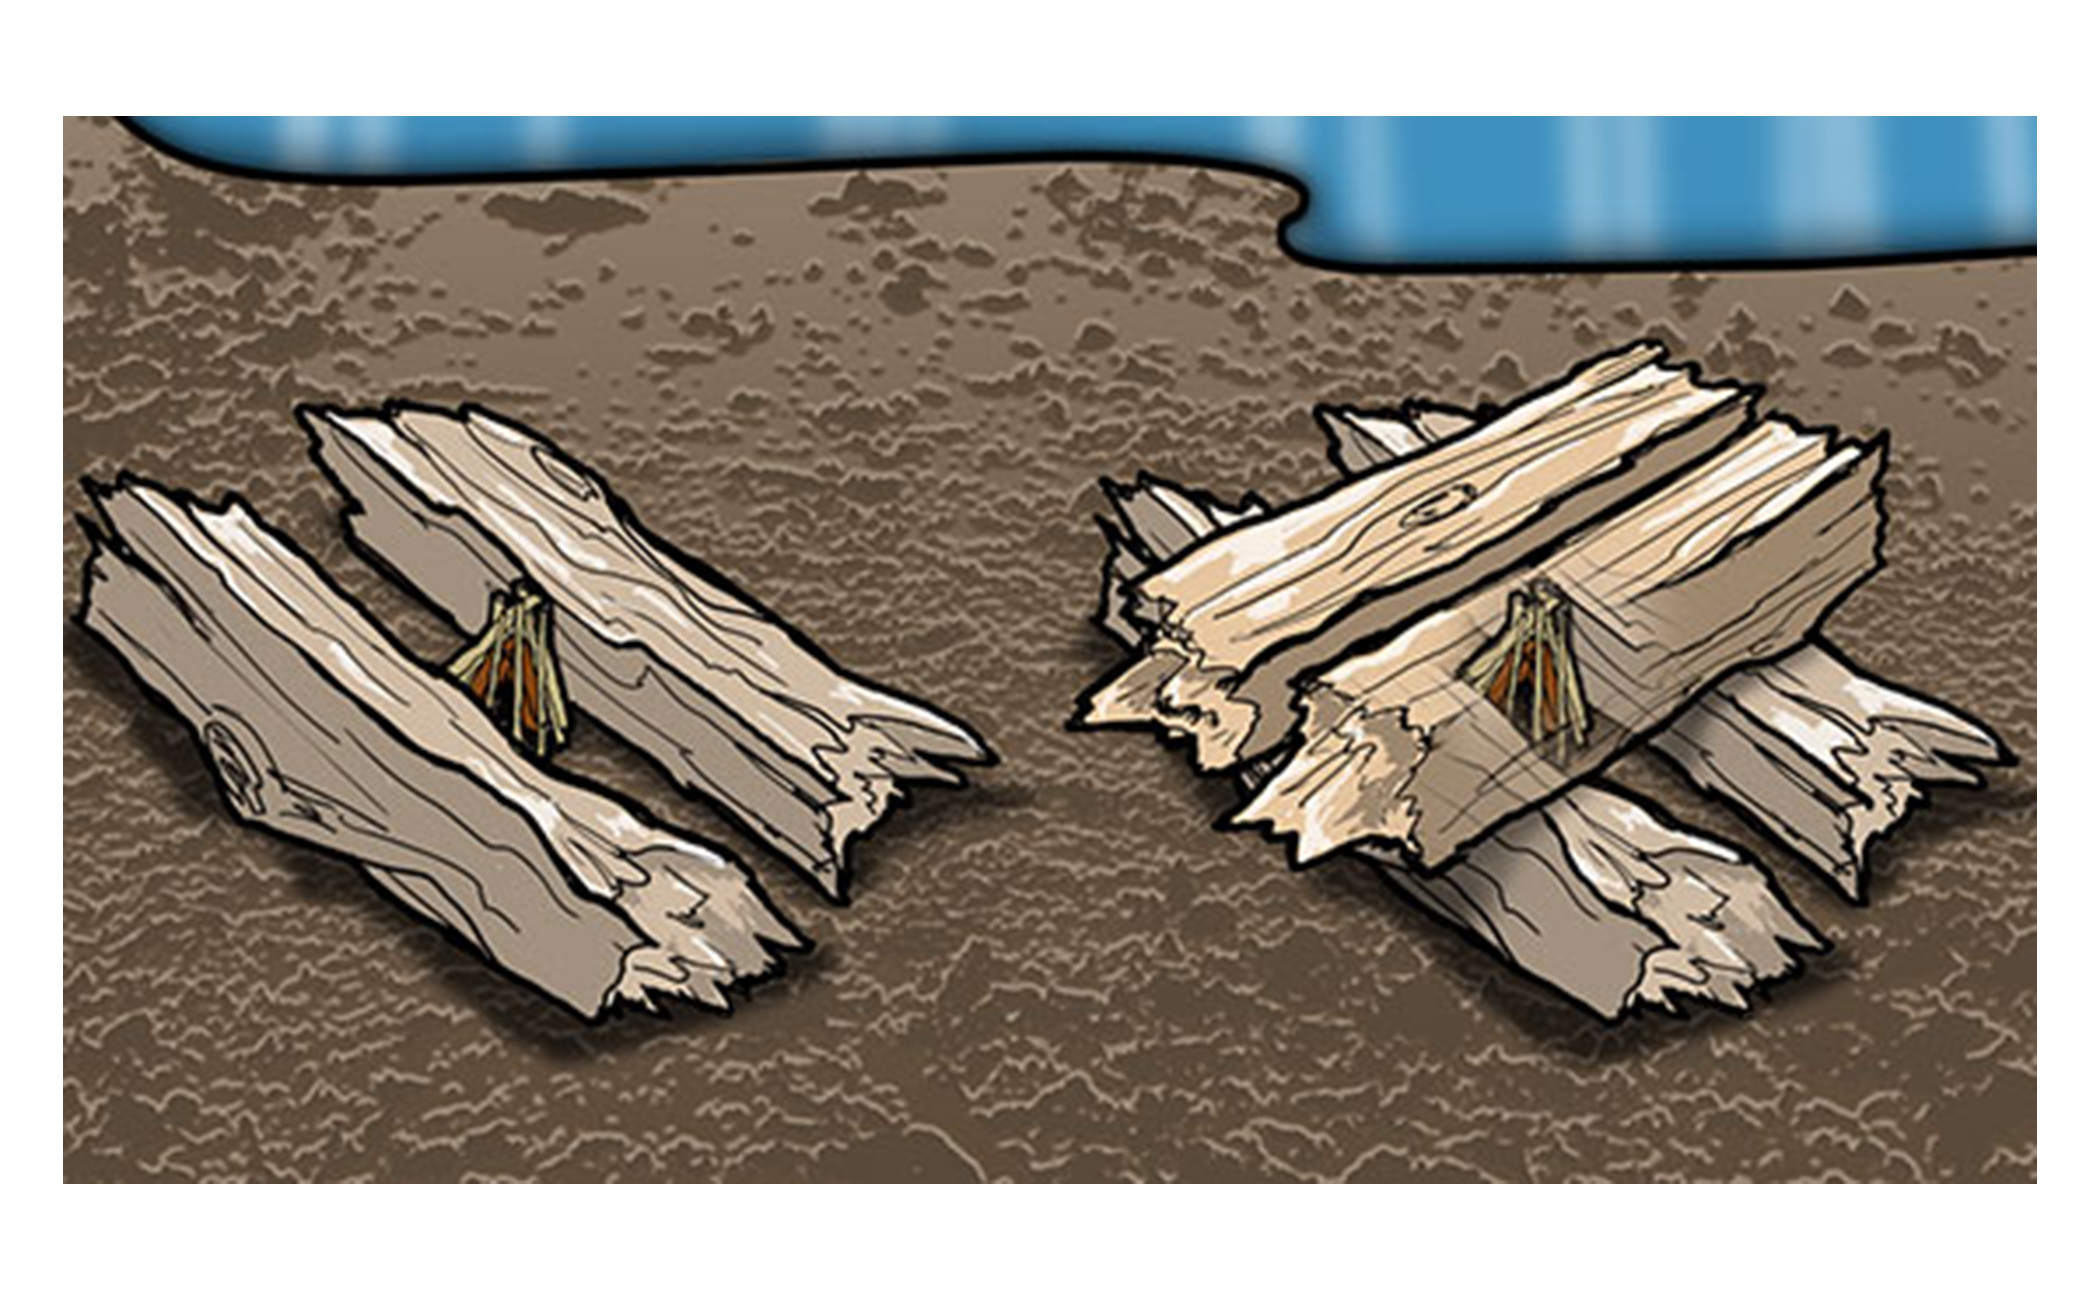
15. Gradually add small logs: As the fire grows stronger, begin adding the small, split logs into the fire in a crisscross pattern. This allows for ventilation and encourages the fire to spread.
16. Maintain airflow: Ensure a constant airflow around the burning wood by arranging the logs with enough space in between. This will help the fire thrive.
17. Feed the fire with dry wood: Continuously feed the fire with dry wood to ensure it remains well-fueled. Start with smaller logs and gradually add larger ones.
18. Utilize resinous wood: Introduce resinous wood, such as pine or spruce, into the fire. The resin will ignite quickly and help sustain the fire even if the surrounding wood is slightly wet.
19. Stoke the fire: Use a stick or a poker to carefully stir the burning wood and ensure proper airflow. This will help the fire burn more efficiently.
20. Create a reflector: If possible, build a reflector wall behind the fire using rocks or wet logs. This will help reflect heat back towards you and keep the fire burning hotter.
21. Shield from rain or snow: If rain or snow starts falling again, use a large piece of wood or a tarp to create a temporary shelter above the fire, protecting it from getting wet again.
22. Expand the fire: Once the fire is well-established, gradually add more and larger logs to increase and maintain a strong flame.
23. Monitor wind direction: Pay attention to the wind direction and position yourself accordingly. Avoid standing directly downwind of the fire to prevent sparks or embers from reaching you.
24. Keep adding fuel: Continuously feed the fire with dry wood to keep it going. Gather more wood before it gets dark to ensure a reliable source of fuel.
25. Maintain a safe distance: Keep a safe distance from the fire, especially when it is burning strongly. Stay vigilant and don’t let it get out of control.
26. Prepare additional fire-starting materials: While the fire is burning, prepare additional fire-starting materials nearby in case the fire dies down or gets extinguished.
27. Use fire accelerant: If available, use fire accelerant sparingly to reignite and revive a struggling fire. Avoid pouring excessive amounts, as this can be dangerous.
28. Stay attentive: Don’t leave the fire unattended and stay vigilant throughout the fire-starting process.
29. Monitor the fire’s progress: Observe the fire and adjust the arrangement of wood as necessary to ensure it continues to burn well.
30. Extinguish the fire safely: Once you’re finished and ready to leave, ensure the fire is completely extinguished by pouring water over it, stirring the ashes, and repeating the process until the embers are cool to the touch.
More About Start A Fire With Wet Wood
Title: Unlocking the Secrets: Starting a Fiery Blaze with Wet Wood
Introduction:
Welcome, fellow fire enthusiasts and nature admirers, to this intriguing discussion on the seemingly impossible task of starting a fire with wet wood. Delve into the secrets and ancient techniques that lie beneath the surface, as we uncover the methods that allow us to conquer even the most challenging fire-starting situations.
Nature constantly presents us with unexpected obstacles, and wet wood may undoubtedly be one of the most frustrating. The sizzling sound of crackling flames and the comforting warmth exuded by a roaring fire on a chilly evening hold a special place in our hearts. However, damp circumstances can dampen our wood supply, making the prospect of a cozy evening seem utterly bleak.
But fret not, for the knowledge you will acquire today will empower you to ignite a fire when all seems lost. Drawing on age-old wisdom handed down through generations, combined with modern insights, this guide will equip you with the know-how to create roaring flames from the most stubbornly wet wood.
The ability to start a fire, even under challenging conditions, is an essential life skill. Whether you are a seasoned camper, an adventurous hiker, or simply enjoy cozy evenings by the fireplace, this knowledge is sure to serve you in numerous situations. Imagine the admiration and awe that will surround you as you work magic with seemingly useless firewood.
In this age of technological advancements, it is crucial to maintain a connection with the primal elements of nature. Fire has been an integral part of human life since time immemorial, providing warmth, light, and a tool for cooking. By mastering the art of starting a fire with wet wood, we not only reconnect with our ancestors but also truly appreciate the power and majesty of this fundamental element.
Throughout history, civilizations have developed incredibly resourceful methods to conquer moist wood. From the Vikings of the North to the indigenous peoples of untouched forests, their remarkable understanding of nature’s unpredictable ways has enabled them to thrive in challenging environments. We draw inspiration from these ancient practices as we embark on our journey to conquer the wet wood challenge.
As we delve into the peat-soaked bogs and ancient forest tales, we will explore the fundamental chemistry behind conquering wet wood. From understanding the moisture content to harnessing natural oils and resins, we will uncover the secrets of sparking a successful fire with sodden logs. By the end of this journey, your fear of damp wood will morph into an innate sense of confidence and capability.
So whether you find yourself stranded in the wilderness or in the comfort of your own backyard, this comprehensive guide will provide you with the tools necessary to transform a stubborn, soaked supply of wood into a dancing, blazing inferno. Let us kindle this knowledge together as we embark on an illuminating adventure through the art of starting a fire with wet wood.
Start A Fire With Wet Wood FAQs:
Sure! Here are 10 FAQ on how to start a fire with wet wood:
Q1: Can wet wood be used to start a fire?
A1: While it is possible, starting a fire with wet wood is more challenging compared to using dry wood.
Q2: What are some techniques to start a fire with wet wood?
A2: Some techniques include splitting the wood, using smaller fuel, creating a platform above the damp ground, and using fire starters like newspaper or dry kindling.
Q3: Can I use accelerants like gasoline to start a fire with wet wood?
A3: It is highly discouraged to use accelerants, as they can be hazardous and may cause sudden and uncontrolled fires. Stick to safe fire-starting methods.
Q4: How can I dry wet wood quickly before starting a fire?
A4: Place the wet wood near the heat source, like next to an existing fire or in a sunny area, to accelerate the drying process. However, exercise caution and ensure the wood doesn’t catch fire unexpectedly.
Q5: Is there a specific type of wood that ignites easier when wet?
A5: Softwoods like pine, cedar, and spruce tend to ignite more easily, even when damp. They contain resins that aid in the combustion process.
Q6: Should I remove the wet bark from the wood before starting a fire?
A6: If possible, remove the wet bark as it acts as a moisture barrier. Dry wood without bark will generally ignite easier than wood with wet bark.
Q7: Can I use a hairdryer or fan to dry wet wood quickly?
A7: Yes, these tools can be used to blow air onto the wet wood, helping to accelerate the drying process. However, be cautious if using electrical appliances near open flames.
Q8: Is it better to start a fire with wet wood using a top-down or bottom-up method?
A8: The top-down method is generally more effective when starting a fire with wet wood. This method involves placing larger dry fuel at the bottom, followed by smaller pieces on top.
Q9: Can I use man-made fire-starting aids like fire gel or fire starters with wet wood?
A9: Yes, these aids can help ignite wet wood quicker. However, ensure they are safe for use and follow the instructions provided.
Q10: What should I do if my attempts to start a fire with wet wood are unsuccessful?
A10: Keep trying different techniques and ensure you have enough dry kindling and fire starters. If all else fails, it may be necessary to find alternative dry fuel sources to start a fire.